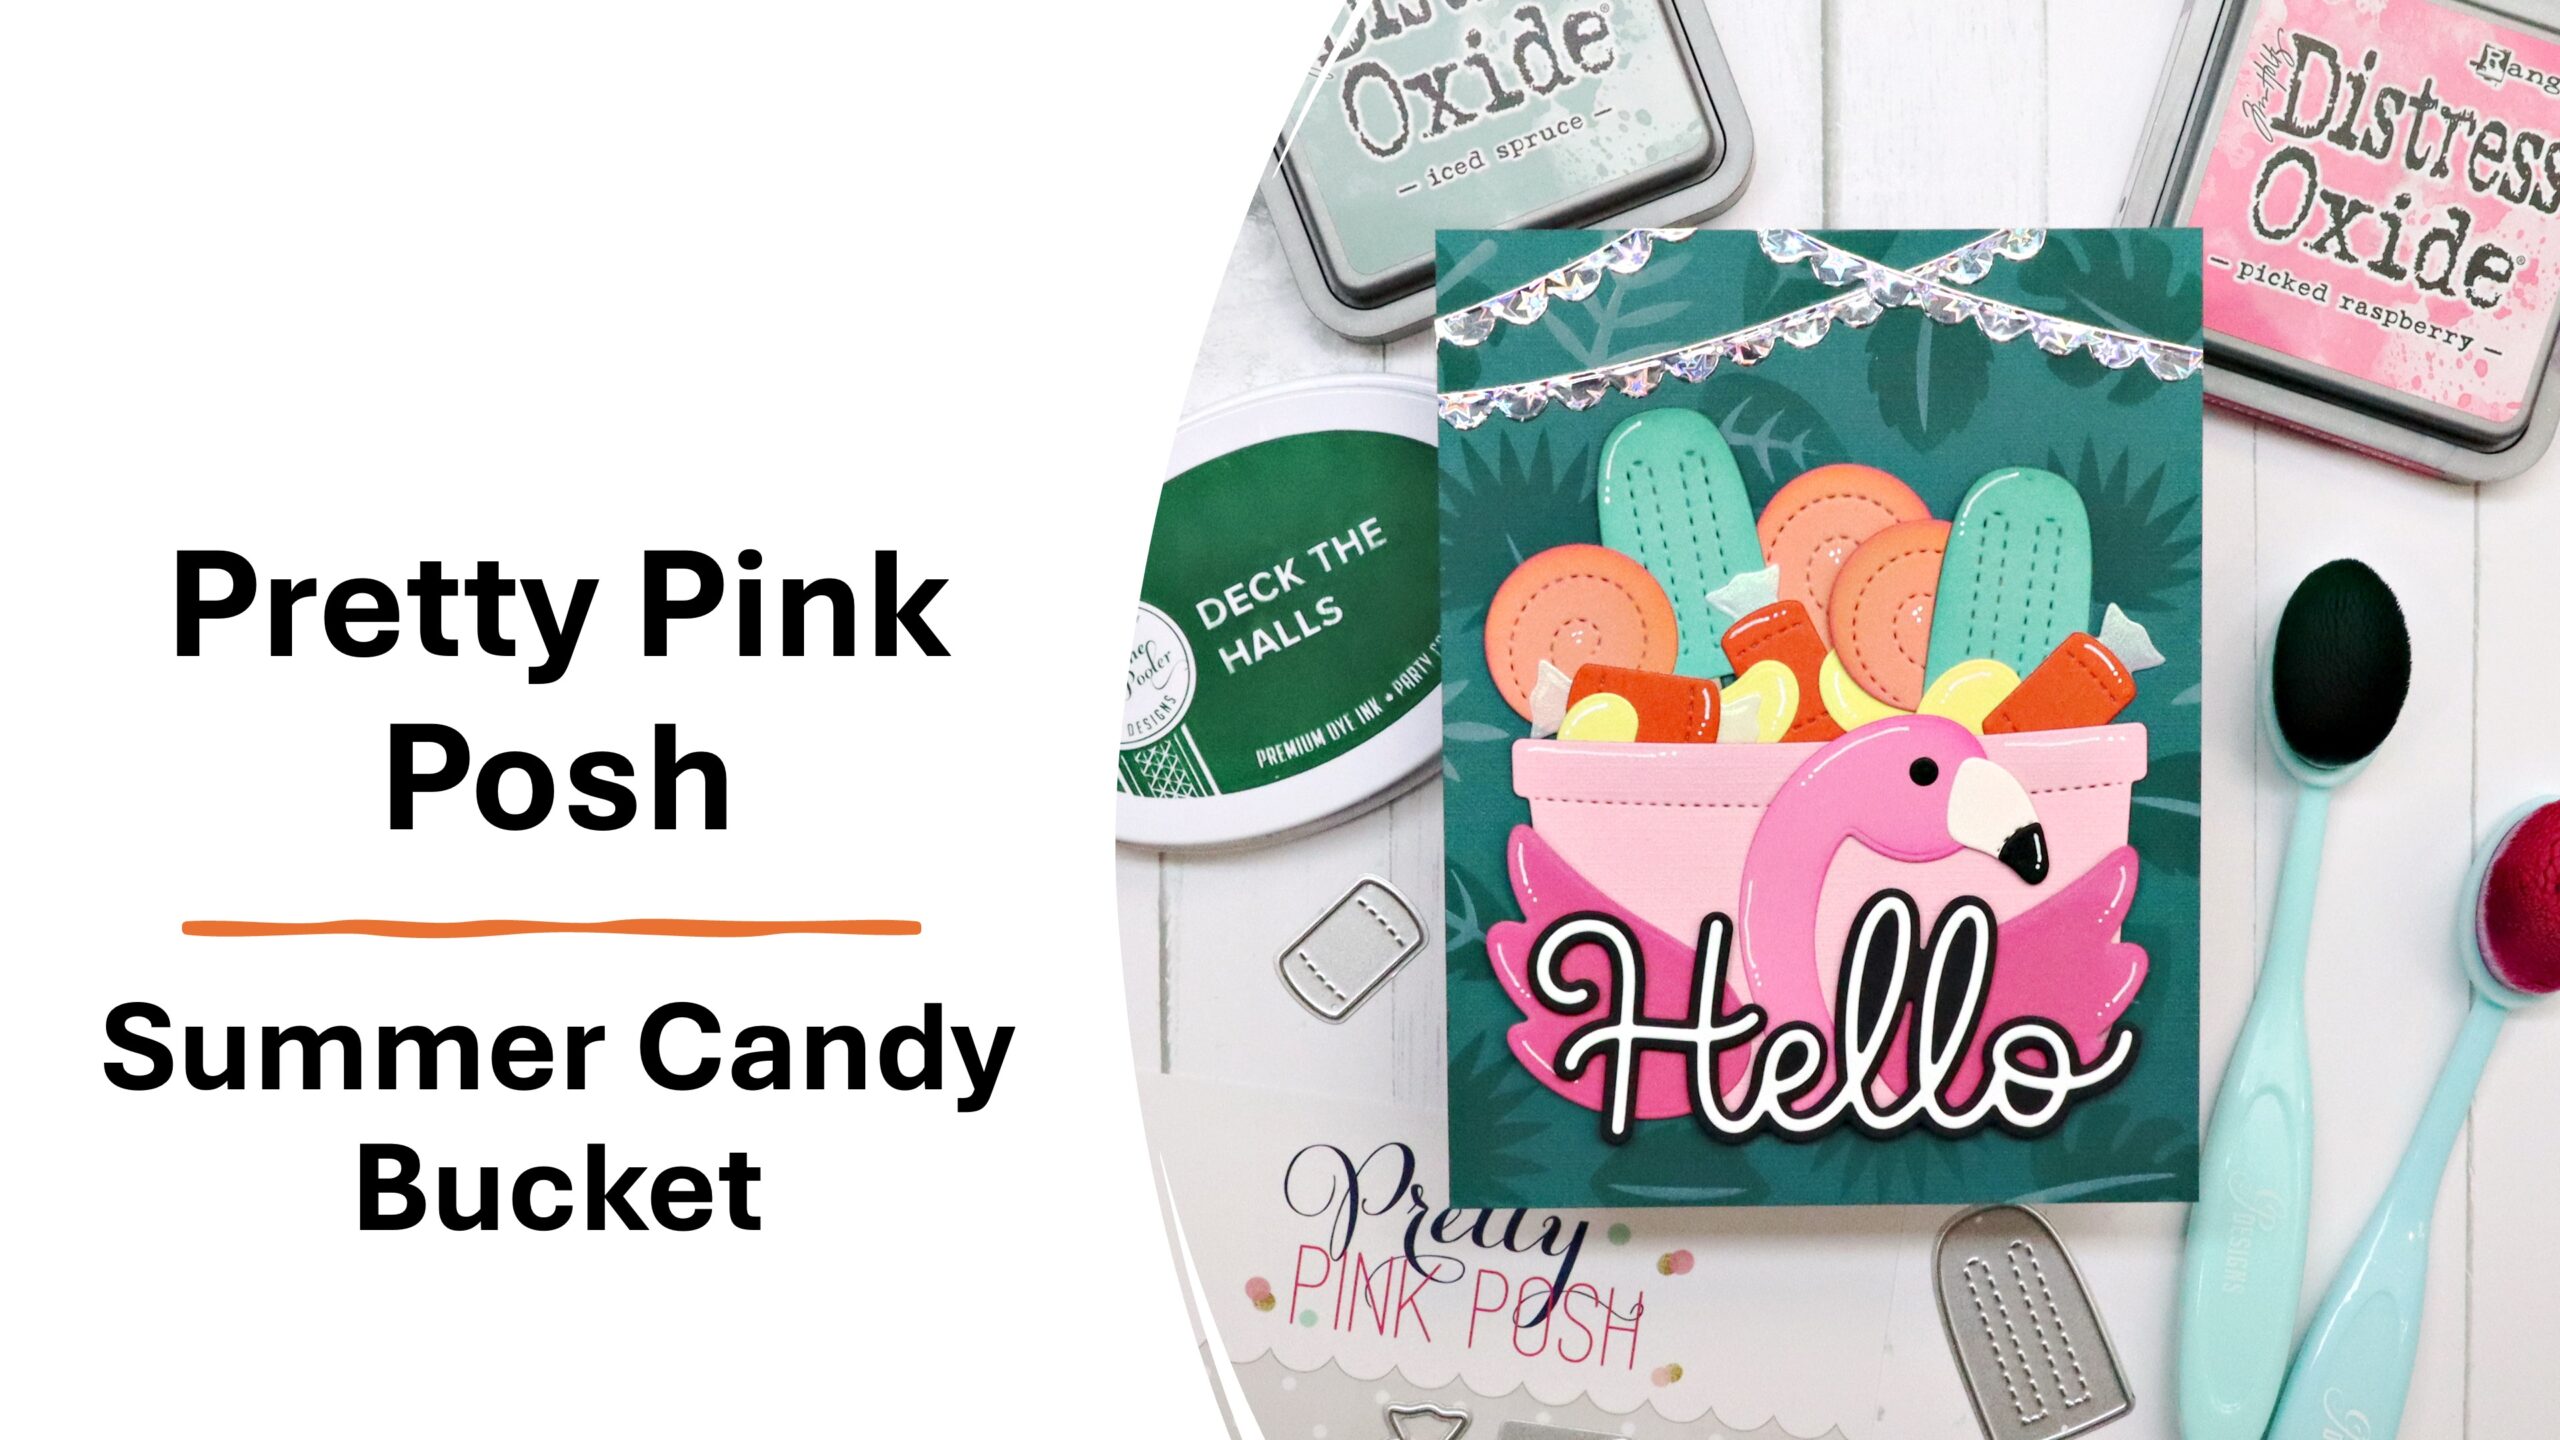
I couldn’t resist doing one more Easter video. Especially since the retirement home where I donate my cards has requested enough holiday cards for every resident. That usually isn’t a problem for me as long as I have sufficient notice about the quantity needed. I like to keep the cards bright and cheerful and I also include handwritten message inside each one.
I am really enjoying all the pretty spring colors and floral papers lately. Spring is definitely on it’s way and I am looking forward to seeing more sunshine. I used my 6×6 Paper Pad Tutorial and one paper pad to make 31 cards.

The video is sped up 7 times since the full recording time was just under 4 hours, not including any of my planning, prep, or die cutting time. Watch the video below or click HERE to see it on YouTube.
In addition to using the 6×6 paper pad, I also used 4 sheets of 8 1/2″ x 11″ and 14 sheets of 12″ x 12″ solid colored cardstock.

Here are the pictures of the cards I made, including sketches and measurements. Operation Write Home sketches are the only ones that already provide measurements. For all the other sketches, I simply figure the measurements out on my own, for what works for me. All of my cards are A2 size. Go HERE to see my video explaining how I determine card sketch measurements. All cards are made using Echo Park’s Hello Easter – 6×6 paper pad.


Sketch – Operation Write Home #115
Sentiment/Image cut aparts – Echo Park
Small circle dies – Lawn Fawn


Sketch – My Favorite Things #374
Sentiment/Image cut aparts – Echo Park
Twine – The Twinery
Brads – from stash


Sketch – Freshly Made Sketches #274
Sentiment/Image cut aparts – Echo Park
Epoxy stickers – The Paper Studio


Sketch – My Favorite Things #373
Image stamps and dies – Reverse Confetti
Sentiment stamp – Reverse Confetti
Circle dies – Spellbinders
Ink – My Favorite Things and Lawn Fawn
Markers – Copic
Brads – from stash


Sketch – My Favorite Things #372
Image stamp and die – Reverse Confetti
Sentiment stamp – Lawn Fawn
Banner die – American Crafts
Ink – Reverse Confetti and Lawn Fawn
Markers – Copic


Sketch – Reverse Confetti #32
Sentiment stamp – Lawn Fawn
Circle dies – Spellbinders
Banner die – American Crafts
Pre-embossed cardstock – Bazzill
Embossing folder – Cuttlebug
Ink – My Favorite Things


Collage Cover-Up die – MFT Die-namics
Image stamp and die – Reverse Confetti
Sentiment stamp – Reverse Confetti
Ink – Reverse Confetti and Lawn Fawn
Markers – Copic

Sketch – Freshly Made Sketches #318
Sentiment stamp – Lawn Fawn
Pre-embossed cardstock – Bazzill
Stitched rectangle die – My Favorite Things
Stitched circle die – Lil Inker Designs
Scalloped circle die – Spellbinders
Ink – My Favorite Things
Brads – from stash

Some of my favorite and commonly used crafting tools:
Tonic Studios guillotine paper trimmer
Scotch ATG (Advanced Tape Glider) glue gun
ATG tape refills from Tapejungle.com
Sizzix BIGkick die cut machine
Scor-Tape
Tombow Xtreme Tabs
We R Memory Keepers brad setter and piercing tool
We R Memory Keepers Crop-a-Dile Corner Chomper
Scotch Mounting Tape 3/4″
Scotch Quick-Dry Adhesive liquid glue
MISTI stamping tool
Accent Opaque Digital 100# cover weight paper for card bases
Thanks for visiting my blog today! I appreciate your kindness and support!
*All card sketch images used with permission.
These will surely make the residents smile. I so appreciate that you donate your work to others. You are very generous. And busy…another pad done! The color palette in this one is so pretty. Lovely and happy for Spring and Easter. Job well done! Thanks for sharing. 🙂
As always, lovely cards and video. So pretty colours, cute chicks and bunnies, it makes me smile, Spring is in the air. I am learning a lot from you, thank you for your inspiring videos. You make a lot of people happy with your cards and videos.
Thank you, this is awesome! 🙂 I've been working with these papers, and yours are so much better than mine! 🙂
Another awesome video! Thank you for feeding my addiction. 🙂 I always learn something from each tutorial. I really like how the brown matting paper worked with this really cute paper pad (love those chocolate bunnies!!) and you really surprised me with the last 3 cards. I thought you were finished! I need to remember that technique and sketch to use up my scraps!
I have a question regarding your Tonic paper cutter–have you ever had to sharpen or replace your blade? I have a great rotary cutter, but its finger guard is about an inch wide, so for anything under 1.25 inches, I use an inexpensive cutter with a wire. It's okay but it goes through blades very quickly. I am impressed at the thin strips you cut so easily. Thank you!!
Thank you, Jeanne! I really enjoy giving my cards to others. It's part of the joy of card making. 🙂 I have been in busy card making mode lately. I just finished recording another 6×6 video. Plus I have a huge stack of paper pads just waiting for me.
Thank you, Janet! Isn't this a fun paper collection? I'm sure your cards are just lovely. 🙂
Thank you, Jennifer! I'm always happy to enable fellow crafters. 😉 The paper collection is so cute. I loved the chocolate bunnies too. I was planning on calling it done before those last few cards. But I just didn't want to waste the cute paper. I think the stitching adds extra interest to the final cards.
I have had my Tonic trimmer for probably 6 or 7 years and I've never sharpened or replaced the blade. It is harder to cut tiny pieces smaller than 3/4", but the finger guard helps you hold smaller pieces in place. The trimmer isn't even very expensive. Under $50 and sometimes cheaper on Amazon. I actually bought a 2nd Tonic trimmer a few years ago in case mine needs replacing someday.
Thank you! I will keep an eye out for it. I love that you bought a back up–I totally do that too!
Glad I'm not the only one who buys back ups. 🙂
Love your cards! Just a question……the base measurements, are they the solid colour underneathor the pattern paper?
Thank you so much! Generally the measurements I list on the sketch is for the pattern paper. Then I add an 1/8" for the matted layer.